Get to know Desktop Linux
Linux is the most commonly used server operating system. Using the desktop version for a little bit can help you understand what's going on when you interact with the server.
Linux is a very popular server operating system, and a not very popular desktop operating system. If you've never worked with a computer only through the command line, it can be helpful to play around through the graphical user interface (GUI) first to learn how things work and where things go. Then when it's time to hit the terminal, you'll have some idea what's going on.
Objectives
- Understand the folder structure of Linux
- Understand how to use a package manager (
apt) to install a program - Recognize that the terminal and GUI are two different ways of interacting with a Linux computer
File structure
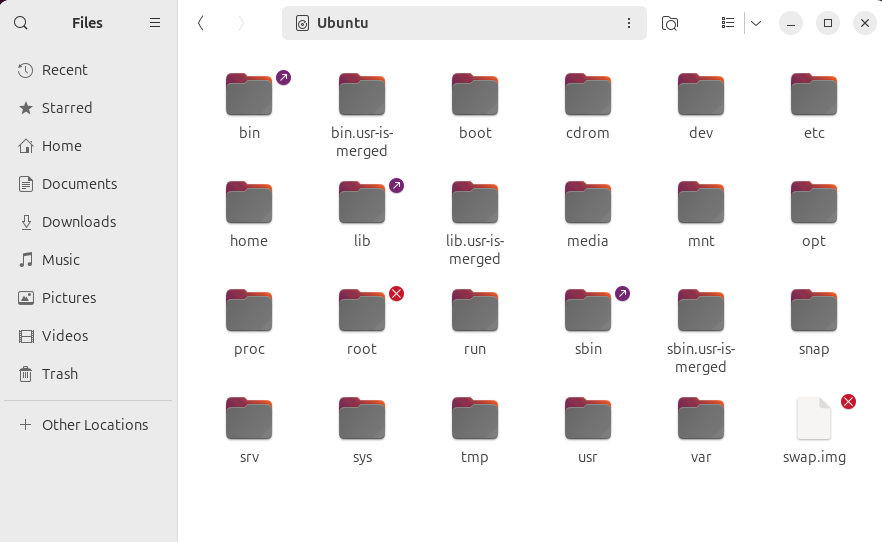
Just like macOS or Windows, Linux organizes files in folders in a hierarchy. On Linux, this hierarchy starts with the root (/) directory. Everything else on the computer is inside of another folder inside of /.
The Files program on Ubuntu is just like File Explorer for Windows or Finder for Mac, and allows you to navigate through the folder structure of the computer to see and interact with the files. Click the folder icon in the favorites bar on the left to open the Files program. It should show a view similar to the one below
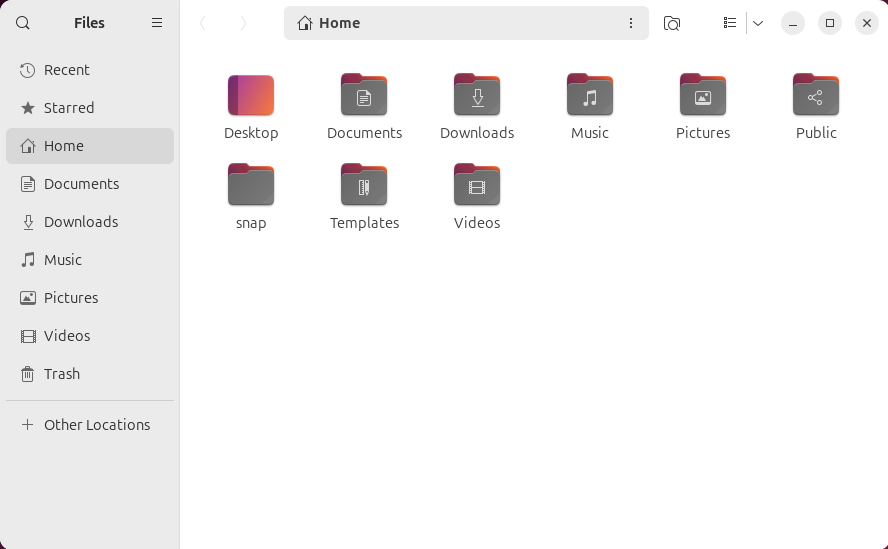
By default, Files opens in the user's home directory. That home directory is a folder with the user's username inside the /home directory (the home folder inside the / directory). Inside there are usually folders like Desktop, Documents, Downloads, etc. If you click the address bar at the top of the Files window, you can see the full path.

If you delete the home/username part of that folder and just leave /, then press Enter, you can navigate and see the contents of the root (/) directory. Note that you can see the home directory, and if you open that by double-clicking, you'll see the username directory for your user. The other directories are automatically created by the install of Ubuntu. For more on what all those directories contain, you can read more from averagelinuxuser.com. Take a couple minutes to navigate into different folders and see if you can figure out what is there.
Installing and configuring programs
If you want to install a new program on Linux, most often you're going to use a package manager. A package manager is kind of like an open source App Store, but they've been around for much longer (since 1993!). In recent versions of Linux there is a graphical way to interact with the package manager, but we're cooler than that. We're going to use the terminal!
The terminal is a text-based way to interact with the computer. Keep in mind, you're interacting with the same computer, it's just the interface that has changed. You can do many of the same things through either the graphical interface or the terminal.
To open the terminal on Ubuntu, click the little search box (line) in the top left of the screen, then type "terminal".

You can then click on the Terminal program to open a new window.
Once you've got the terminal open, we're going to type a command. Typing commands is how you interact with the computer. We're going to give Ubuntu the instruction to install a program.
The package manager for Ubuntu is called apt. We'll use an instruction called apt install to tell apt to install a new program on the computer. To do that, we have to use a special instruction, sudo, to tell the terminal to run the apt install command as a super user (similar to an admin user). The last part of the command is the name of the program we want to install (crack-attack). This is a simple Candy Crush-like game. So the full command we need to enter is:
sudo apt install crack-attacksudo apt update, then run the install commandOnce you type the command and press Enter, the terminal will then ask for the password for your user. Enter the password, and don't worry that there is no indication that you are typing. Just type the password and press Enter, and the program will then list all the packages that will be installed along with your program. Type y, then press Enter again to install the program. Once the install is complete, you can find the program by opening the search menu again and searching for Crack Attack. If it doesn't show up on that search menu, you can start it from the terminal with the following command:
crack-attack --solo
Click Start Game to play a quick game just to confirm that the new program installed correctly.
If you want to remove the program you can type the following command to remove it:
sudo apt remove crack-attackInstalling VS Code
Some programs aren't available in the default apt repositories, and need to be installed separately. Typically these are packaged in a package specific to the version of Linux you are using. For Ubuntu, these are usually .deb files. VS code is one of these, so let's go through the process of installing a new .deb file to get VS code installed on our Linux VM.
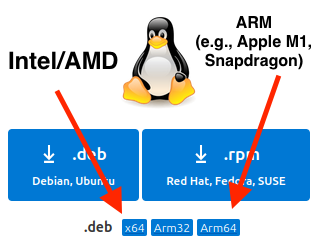
Open Firefox on your VM and go to https://code.visualstudio.com/download. Click the button to download the appropriate .deb file for your host computer's processor (x64 for Intel Macs and most Windows computers, Arm64 for Apple Silicon processors and newer Snapdragon Windows computers).
Once the file has finished downloading, you can open Files and go to your Downloads file to see that the file is there. Don't click on it. We're going to install it through the terminal instead of through graphical tools.
Open a terminal and type cd Downloads to navigate to the Downloads folder. Then type the following command to install the package:
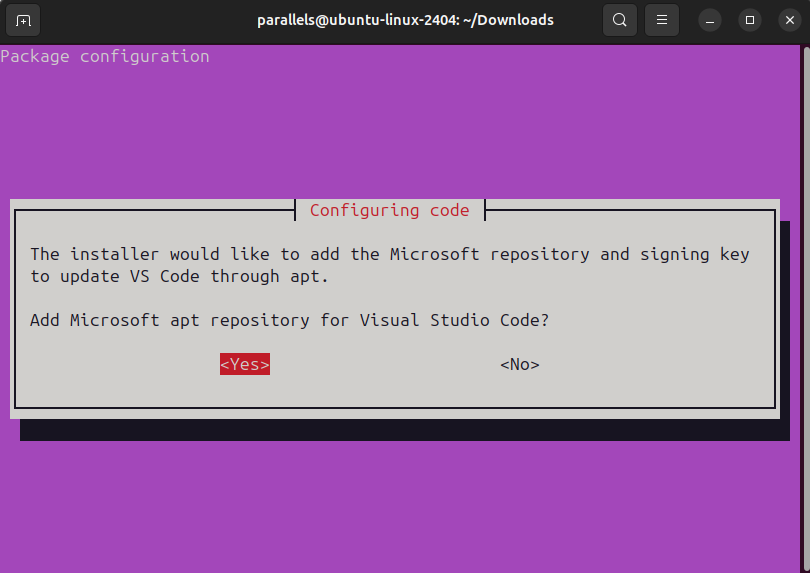
sudo dpkg -i code then press TAB
Pressing tab will autocomplete the full name of the file. After you hit Enter and put in your password, a screen should pop up asking if you want to add the Microsoft repository and signing key. Just hit Enter again to add it. This will allow apt to keep VS code updated with everything else on your VM.
apt repository to allow automatic updatesNow you can open up VS Code on your server and do all the coding your heart desires on your Linux virtual machine.