Installing a Web Server on Linux
Install the Nginx web server on Linux to learn about what web servers do.
The word "server" sometimes refers to physical hardware, but often it's referring to the software running on a computer that serves responses to requests from clients (see client-server model). All it means is that there is a program on a computer somewhere that is listening for requests to come in, and then it knows how to respond to those requests.
One common server is a web server. In this activity, you'll install a web server on your own computer, then edit the website that shows up.
Goals
- Be able to install and configure a server application
- Be able to edit the website served by that server
Prerequisites
- An installed Ubuntu Linux VM
- Some knowledge of the Linux command line (perhaps by going through the Codecademy command line tutorial), including a command line text editor like
vimornano
What is a web server?
At it's most basic, a web server is just an application running on a computer that listens for network requests and responds by sending an HTML file. The browser then takes that HTML file and renders it in the window for users. The server can also send CSS, Javascript, images, and other files when needed.
Installing the server
The web server we are going to install is a program called Nginx (pronounced Engine-X). It's a very popular open source web server.
First we're going to verify that the server is not installed. Open Firefox in your VM and type localhost in the navigation bar. It shouldn't work - it's going to say "Unable to connect." That means that when your browser (Firefox) sends a request to the localhost address (basically sending a message to itself), nothing is there to respond. Now we'll fix that by installing the server.
As you are familiar, installing software on Linux is relatively easy if it comes in the package manager. Nginx is popular enough that it's there in the default repositories. Just type the command below.
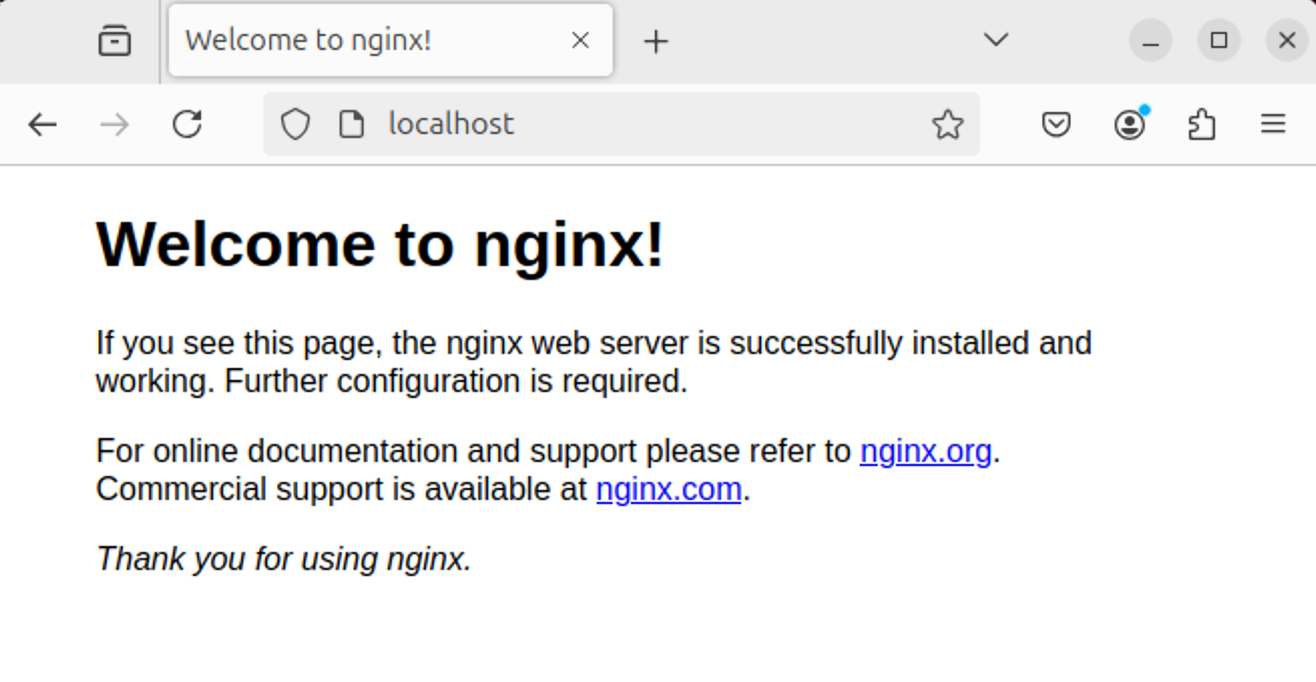
sudo apt install nginxNow if you navigate to http://localhost (note that it's http, not https), you'll see the default Nginx webpage:
apt. If you run nano /var/www/html/index.nginx-debian.html you can see the contents of that file.Make your own site
Now that you've installed the server, we can change the files that are served. By default on Ubuntu, these files are in the /var/www/html directory (note the starting / that makes this an absolute path starting at the root of the drive).
First we'll navigate to that directory in your terminal:
cd /var/www/htmlThen you can look at the files that are currently there:
lsTo do anything to files in this directory, we need to use root (admin) permissions (we'll talk about permissions in a separate post). We'll use the sudo su command to open a superuser shell. Once you do this, every command you type into the shell will be done as the superuser:
sudo su -Changing to the superuser has moved our working directory, so let's go back:
cd /var/www/htmlA web server serves whatever files are requested by the web browser, as long as they exist. If no specific file is requested, it will search in the specified directory for a file called index.html and return that. Let's make the index.html file. Open it (e.g., sudo nano index.html) and add the following contents:
<html>
  <head>
    <title>My homepage</title>
  </head>
  <body>
    <h1>Look what I can do</h1>
    <p>It's not much, but it's honest work</p>
  </body>
</html>
Save the file, and reload your web browser to have Firefox render this new page.
Play around
- Make a second page called
another_page.htmlin the same directory. Then figure out how to access it from the browser. - Download an image, move it into the
/var/www/htmlfolder (might need those superuser permissions again), then include it in your webpage with an<img>tag